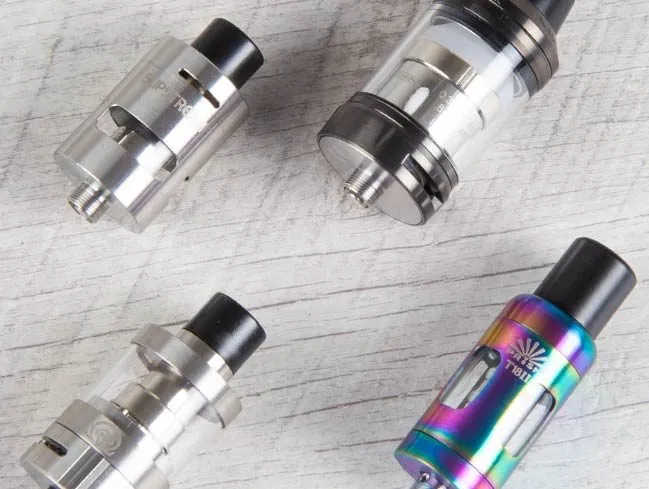
It can be said without doubt that vape is the new sensation among youngsters. Not only youngsters but people smoking cigarettes for a long time are switching as well. It is due to many reasons such as:
· Ease of Use
· Availability of different flavors
· Availability of a variety of vapes
· Portability
· No match or lighter required
All these reasons bring excitement and a sense of relaxation to the people using a vape. However, many people tend to forget vape is, after all, an electronic device. It is a machine, if we may. Any machine would require maintenance and cleaning. If it is not maintained, it will fail to function long before its lifetime ends.
Since many people fail to clean the vape, they waste the money because vapes do not come cheap. They are expensive if the whole kit is considered. So, if you do not want to waste money, learn below how to maintain and clean your vape. This way, the vape will last long and keep working fine.
Components of Vape
This is an essential step towards cleaning the vape. Since if you are not aware of the vape structure, it is possible you may end up damaging it. Mainly there are three parts of vape that are listed below:
Tank – It will be better if you visualize the tank of a lighter here. The tank of vape is somewhat similar and contains e-liquid.
Coil – It is used to heat and convert e-liquid into vapor.
Battery – As vape is an e-cigarette, it has a battery to make the coil function.
Cleaning a Vape Tank
Trying new flavors of vape is exciting. When there are so many flavors for your Uwell Caliburn kit then why would you just stick to one, right? However, if you do not clean the tank properly, then flavors can be mixed. This will turn out not very exciting for you. That is why clean the tank of your uwell Caliburn g as mentioned below:
1. Take a bowl and fill it with warm water
2. Detach the pod or mouthpiece
3. Clean out any existing e-juice
4. Place the pod in the water bowl and let it sit for 10-15 minutes
5. Clean it through a light brush or hands. If you have not cleaned it for a long time, then you can use a little bit of soap
6. Take the pod or tank out of water
7. Remove the excess water with the help of a paper towel
8. Let it air dry, so any water droplets are removed completely
9. Put the tank or pod back in the vape
Once it is clean and tidy, you are good to go. Put any new flavor in and enjoy it to the fullest.
Cleaning the Vape Coils
The coil is an essential part of vape, and without it, your vape pen will simply not function. The twist here is, there is no such way to clean the coil. It is a delicate part, and using water on it will simply burn the coil. That is why, whenever your coil requires maintenance, it means changing the coil. Don’t worry; it is not tricky or complicated. Few signs when your coil would need changing are:
· It becomes dark or damaged and is seen clearly
· Along with your flavor, you also feel a burnt taste
· Vapor is not as much as it was at the start
· There is leakage
Once these signs are visible, the time has come to change the coil of your vape pen. To change the coil, simply follow the steps:
1. First, remove the tank from your vape
2. Remove any remaining e-liquid from the tank
3. Hold the coil and twist towards the left. This will unscrew the coil from the tank
4. Attach the new coil
5. Now attach the whole tank to the device
You are now good to go!
Cleaning and maintaining vape is not complicated, and that is why you should be lazy in taking care of it. Once you follow the steps mentioned above regarding maintenance and cleaning, your vape will function as new. Vaping will become more fun this way.


